I have had this post sitting in drafts and thought I better get it published quick before it gets superseded with the release of vSphere 6.5. I have completed the setup of my vSphere 6 lab in Ravello and have written this post to help others who may do the same. The vCenter appliance version 6 is not yet supported in Ravello, in part because the format of the installation file has changed from OVF to ISO, so I went ahead and have based my lab around a Windows server based vCenter. If you do still want to work with the vCenter appliance check out this guide by Emad Younis who has managed to get it working. The advantage of using a windows vCenter is of course you can also use this server for VUM.
Prerequisites /Cool Stuff
When I first got started with Ravello I thought I would have to setup the infrastructure such as DNS and DHCP around my VMware lab, but you do not need to as this is all built into the Ravello. When you power on a VM it automatically gets an IP address from Ravello and DNS is also taken care of for you. You don’t see the infrastructure servers on your canvas but if you check the IP details of a VM you will see the DNS and DHCP server are one and the same and will by default have the IP address of your network segment dot one e.g. 10.0.0.1. DNS is dynamic so just create your VM’s and the DNS entries will be created automatically for you.
The other thing which is really neat is that internet access from the VM’s works out of the box with no config needed. This makes updates and other operations requiring external access easy.
You can view all the networking setup yourself by looking on the Networking tab of your canvas.
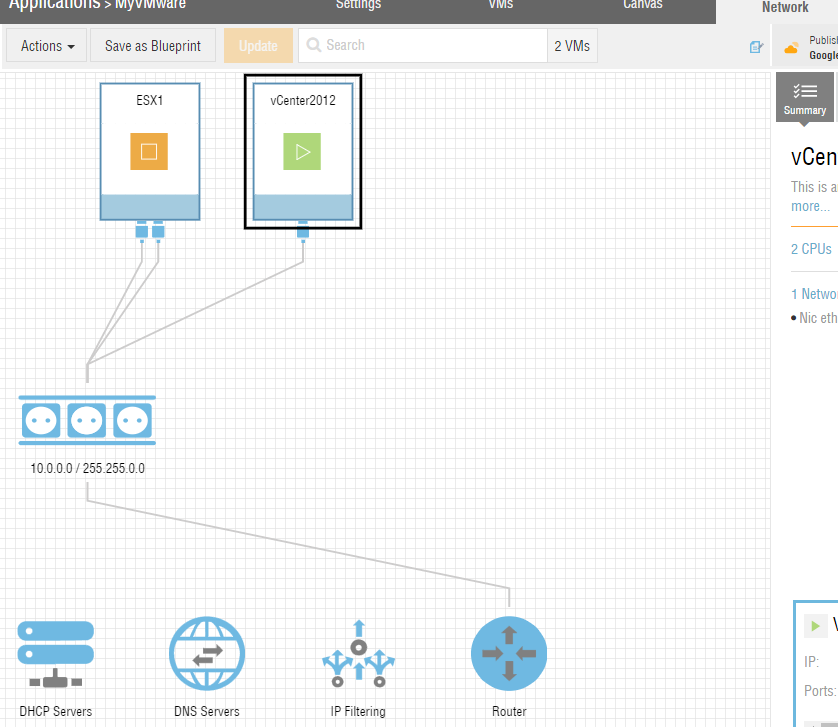
Long story short, you don’t need to configure DNS, DHCP or internet access.
Install Windows server 2012

- Use Ravello import tool to upload Server 2012 ISO to you library
- Choose create new VM from empty template. Size mem etc. appropriately to the size of environment you are building
- Rename server
- Attach Server 2012 ISO, power on and then use console to connect
- Run through Windows Server 2012 setup
- Select VM on canvas, disks, eject ISO
- To enable RDP Select the VM on the canvas, choose services add supplied services and choose RDP port 3389. Choose to update application. Then open a console to the VM and enable RDP and disable the firewall.
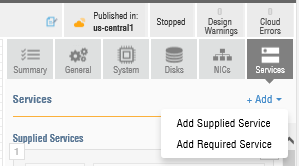
- While you are adding services also add the following ports which will allow you to access you environment remotely
| HTTP | HTTP | 80 |
| HTTPS | HTTPS | 443 |
| Web Interface | TCP | 5480 |
| Web Client | TCP | 9443 |
| Remote Console | TCP | 7343 |
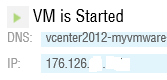
- If you then go back to your VM canvas select summary you will see a box titled VM is started. Within here if you scroll down to RDP and choose open it will create the RDP session file for you.
- RDP to vCenter
- Rename server
- Finalise config, run windows update etc
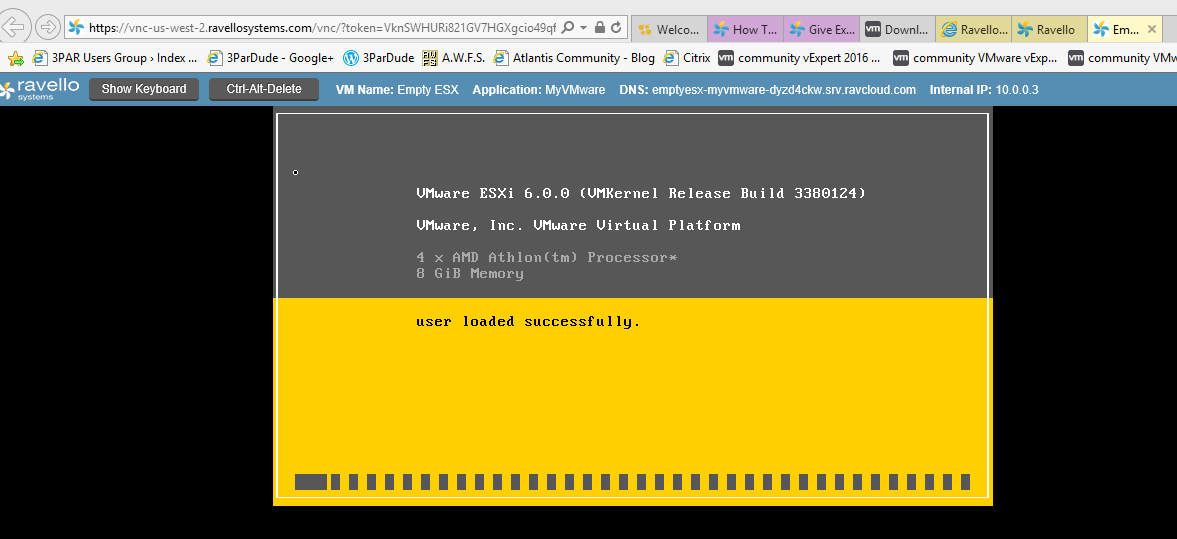
Install ESXi 6
- Use Ravello import tool to upload ESXi 6 ISO to you library
- Create new VM from empty ESX template. Size mem etc. appropriately to the size of environment you are building
- Rename server
- Attach ESXi 6 ISO power on and then use console to connect
- Run through ESXi setup
- Select VM on canvas, disks, eject ISO
vCenter
- Download vCenter installer
- Run vCenter installer
- I chose embedded deployment. If you have large consider external deployment
- Run through the rest of the wizard
- Enable flash – server manger add features, user interfaces, desktop experiences
- Download chrome
- Use chrome to connect to vCenter https://youvCenter/vsphere-client
- Download the client integration plugin
- Login with the vSphere local admin account [email protected]
- Complete vCentre setup, licence etc
- Save vCenter. In the canvas view select more and save to library
ESX Setup
- Add to vCentre
- Licence
Accessing you lab remotely
This is where it gets sexy:
- Your VM’s will be assigned public IP’s. You can see what the IP is by selecting the VM in your workspace then looking at the bottom right corner of the screen where you will see the IP displayed
- If you have followed the steps above which included adding the services for access to each VM to RDP then simply open an RDP session from your computer and enter the public IP address
- To connect to the vSphere web client open a web browser and enter https://public IP address/vSphere-client. You will also need to put an entry in your PC’s host files for the DNS name you gave your vCenter. This is required as once you enter your password it goes to this local DNS address. Remember your public IP address will change regularly so you will need to also update your hosts file.