SNMP Primer
Before we dive into configuring SNMP for 3PAR lets do a quick review of what SNMP is, SNMP stands for Simple Network Management Protocol. SNMP is used for configuring and collecting information from network devices including storage. The focus of this post is using SNMP as a monitoring tool for alerts.
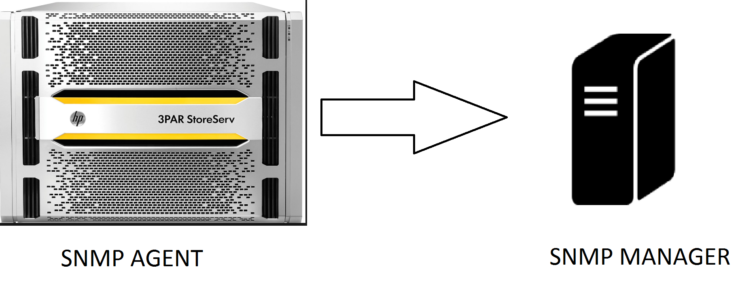
An SNMP infrastructure is based around two components, the manager which acts as the collection point for all alerts and agents which are software on the end points that report back to the manager.
What information can be monitored is defined by a MIB (Management Information Base). The MIB’s are a collection of managed objects identified by Object Identifiers (OID). These OID list the characteristics of the devices that can be managed.
3PAR and SNMP
3PAR has its own SNMP agent built into the device. The 3PAR MIB is contained within the 3PAR CLI download. The HP 3PAR SNMP agent supports SNMPv3, SNMPv2c, SMI-v2 standards.
You will notice SMI-v2 listed as a compatible standard with 3PAR, SMI stands for Storage Management Initiative. SMI was launched by SNIA to provide a common framework all storage vendors could adhere to, allowing common management tools across all vendors.
Configuring SNMP for 3PAR
You will configure SNMP for 3PAR using the CLI, it’s dead easy and I will provide all the steps you will need below.
1 Once you are connected to the 3PAR CLI you will add the SNMP Manager. Remember the manager is the device that is the trap destination i.e. the SNMP server
addsnmpmgr <manager ip address>
The above command should be sufficient for most situations, but if your manager server requires a password or other config different from the default you can use the following options:
- -p <port_number> – Specifies the port number where the manager receives traps. The default port 162
- -pw <password> – Specifies the manager’s access password, if the manager has one
- -r <number> – Specifies the number of times the system will attempt to resend the trap if the manager is not available. The default is 2
- -t <seconds> – Specifies the number of seconds to wait between retries. The default is 200
2 When using the addsnmpmgr command the community name will be set to public, if you need to set a custom community name or change the access permissions use the following command:
setsnmppw –r <community name>

(-r = read-only, -w = write-only and -rw = read-write)
3 You can view your 3PAR SNMP configuration with the following command
showsnmpmgr
4 Finally you can send a test trap to make sure everything is working OK
checksnmp
Enabling SMI
If your monitoring solution requires SMI you will need to enable it on the 3PAR.
Open the 3PAR Command Line Interface (CLI) and connect to the 3PAR system:
1 Enable the SMI-S provider startcim
2 Check status of SMI-S Provider showcim
3 Restarting the SMI-S Provider stopcim –f –x
To stay in touch with more 3PAR news and tips connect with me on LinkedIn and Twitter.


