Threshold Alerts

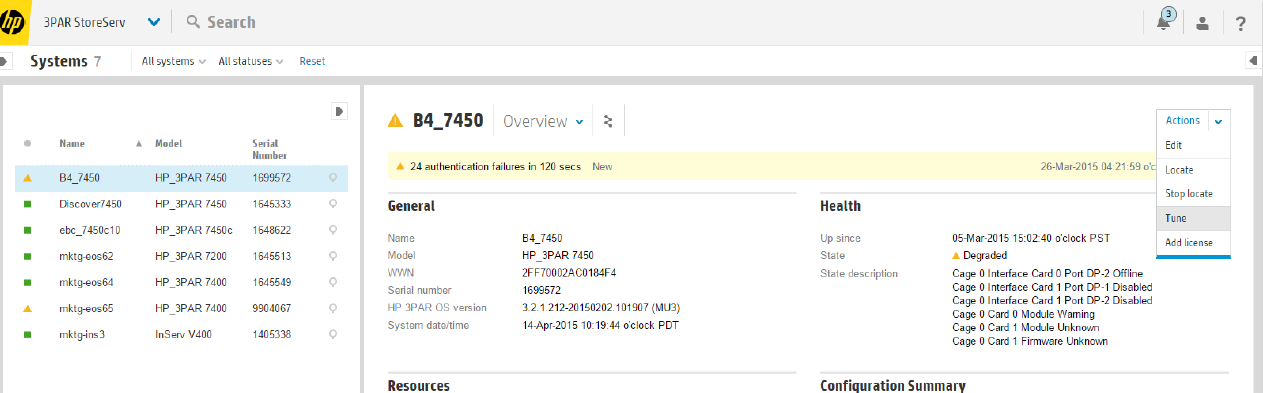
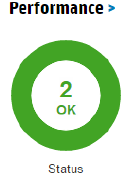
Threshold Alerts is one of my favourite new features in SSMC and allows alerts to be configured based on defined metrics. These alerts can be defined against logical components such as virtual volumes or physical components such as disks. An alert is triggered when a defined threshold is exceeded, for example you may choose to alert when ports are over 75% busy. Threshold Alerts are integrated with the service processer and will trigger an e-mail being sent. You will see triggered alerts within SSMC from the dashboard view, the below screenshot shows 2 systems with no active alerts if an alert was triggered the donut would turn yellow.

1a alert dashboard

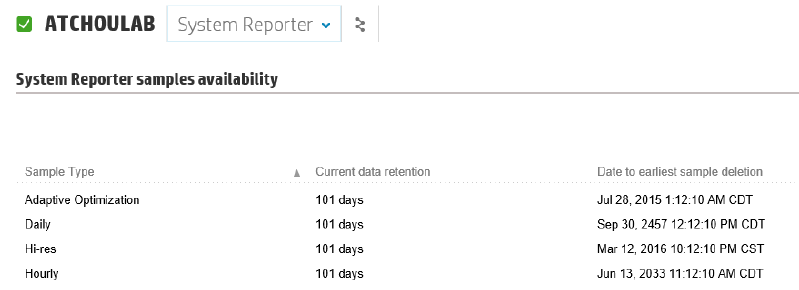
To make setting up Threshold Alerts easier they can be configured through pre-defined templates. Different templates exist for different components and each one can be customised as required. To use threshold alerts the system must be licenced for System Reporter.

To configure a Threshold Alert you need to complete the following steps within SSMC:

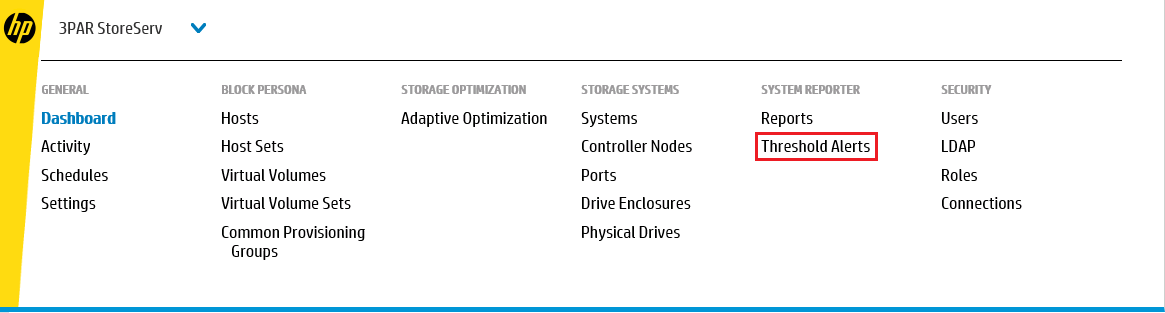
1 Select from the Main Menu Threshold Alerts

1 Threshold menu

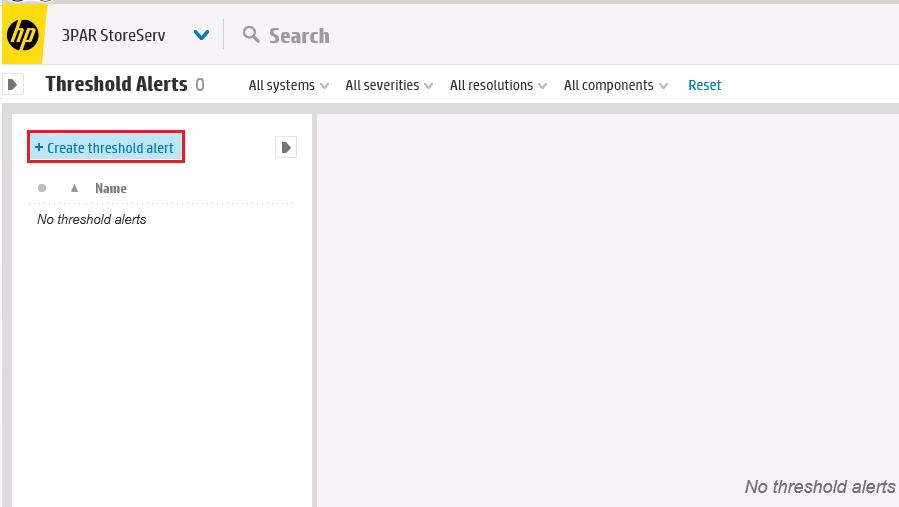
2 Select the Create threshold alert button

2a create threshold alert

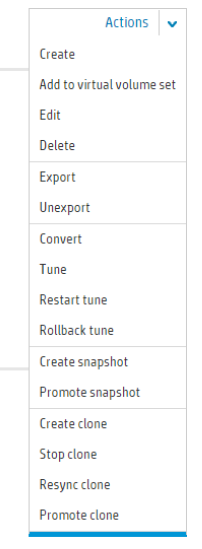
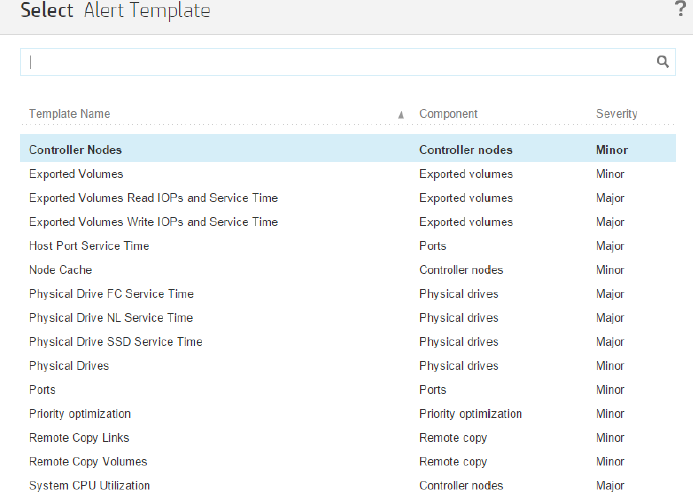
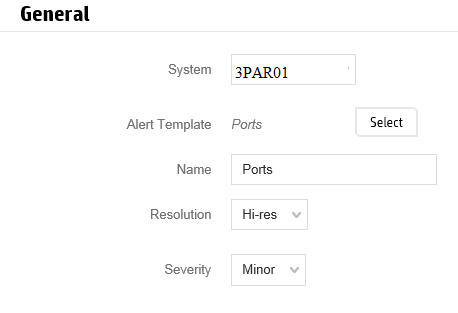
3 In the general section select the system and choose the alert template. Below shows an example of the alerts types you can work with they include ports, disks, nodes plus logical objects such as VV’s and priority optimization.

2 Alert template objects

You will also need to choose the alerting level resolution which is how often the data will be sampled to see if the alert has been triggered. Remember choosing a higher resolution may result in more alerts being generated when there are spikes, to ensure the alert condition is sustained choose a longer sample time. Choose the severity you would like to associate with the alert you are configuring.

3 general

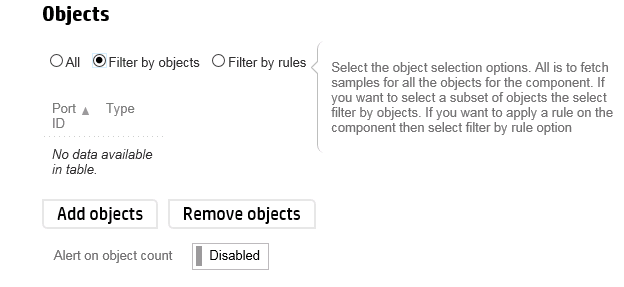
4 In the objects section you can filter against which objects alerts are generated. If for example you only want to monitor certain ports or VV’s this is where you can narrow them down by selecting filter by objects radio button and then clicking add objects button.

4 objects

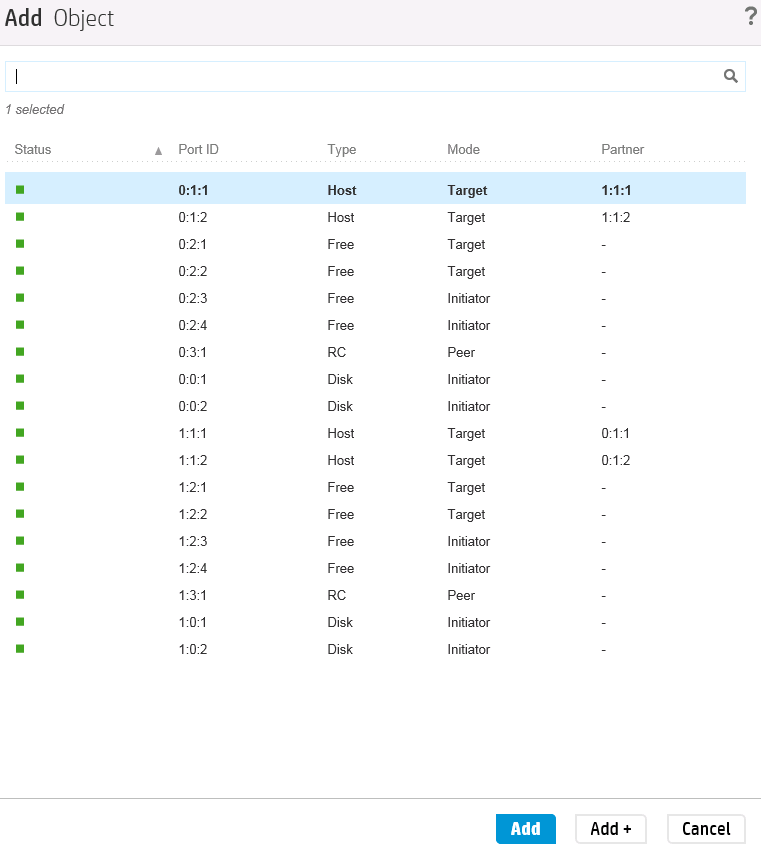
The screenshot below show an example of objects you can filter on when creating a port alert.

5 add object

5 Finally chose the metric you wish to measure on.

5a metrics

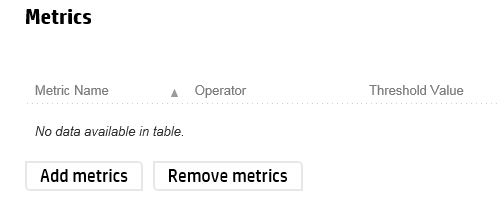
The following screenshot is again for the port objects, you can chose to measure on metrics such as % busy, bandwidth and service time.

6 add metrics


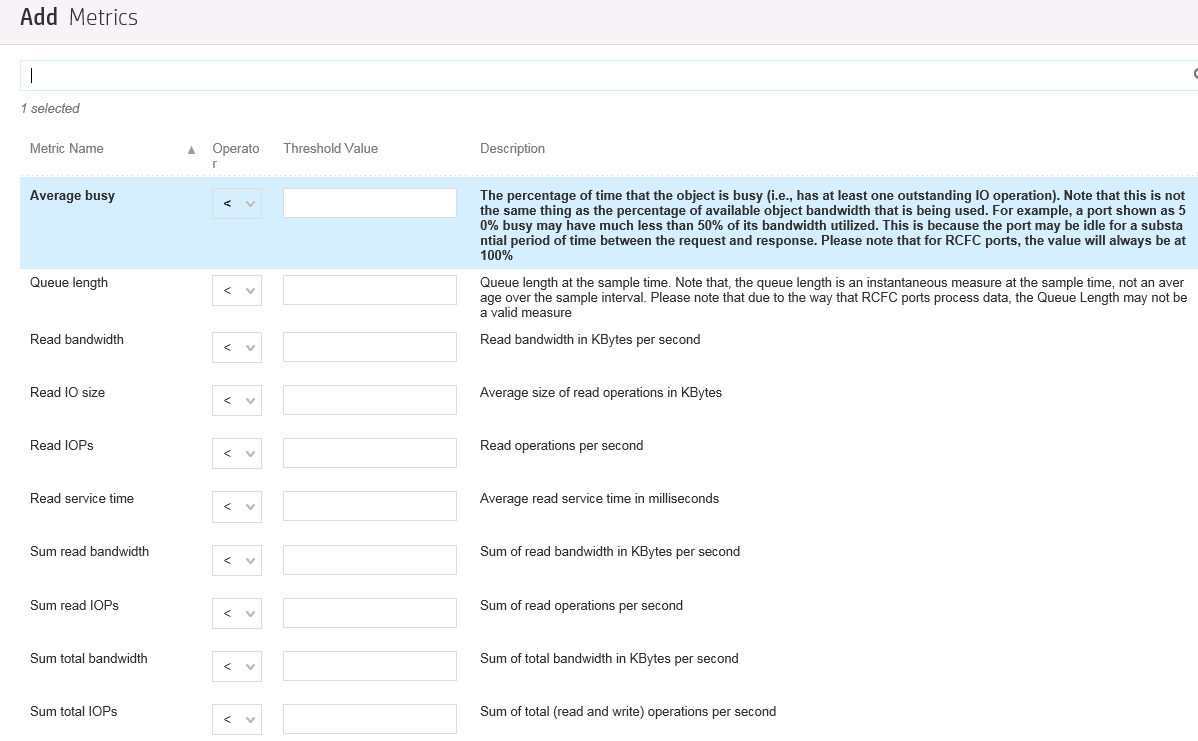
Metrics can be combined so that multiple conditions must be met. For example the following alert will only trigger if service time is over 40ms and IOPs are greater than 1000.

7 combine metrics

Up to 64 alerts can be configured and it’s worth noting the alert will be centrally monitored by HP and could trigger support cases. Alerts can also be configured via the CLI using the command createsralertcrit, more on this another time.

If you missed any of my other posts introducing SSMC don’t forget to check them out:

SSMC 2.1 – What’s new?

Installing 3PAR SSMC

The SSMC Administrator Console

Newbies Guide to The 3PAR SSMC


Installing 3PAR SSMC

The 3PAR SSMC (StoreServ Management Console) is now the go to management tool for 3PAR systems.  In this how to guide we will be covering how to download and install the 3PAR StoreServ Management Console. If you are working with an older system running 3PAR OS 3.1.3 you will need to use the 3PAR Management Console.  Be sure to checkout my post on installing the 3PAR Management Console to get up and running.

StoreServ Management Console Requirements

As above first assure your system is running 3PAR OS 3.1.3 or above. SSMC is a web based console which requires you to install the SSMC server on either a Linux or Windows based server. This post will deal with the procedure to get SSMC installed on a Windows server.

First ensure your SSMC server meets the following requirements taken from the HPE SSMC release notes 3.1.

Supported host platforms

Supported browsers

  • Microsoft Internet Explorer
  • Microsoft Edge
  • Google Chrome
  • Mozilla Firefox

The minimum physical requirements
• Two logical processors
• 4 GB RAM
• 2 GB free disk space
• Supported 64-bit operating system

Whilst the above is the minimum recommended specs for installation.  The table below shows the recommended specs depending on the scale of your 3PAR infrastructure.

Table showing specifications for different sized 3PAR estates

Port 8443 on the SSMC server must be open to inbound connections.

SSMC Install

Before you begin you will need to download SSMC from the 3PAR Software Depot

1 Double click the setup file to begin

SSMC Install Welcome Screen

2 Read through the introduction and click next

Introduction screen

3 Agree to the license agreement

Accepting the HPE license agreement

4a If you are upgrading from a previous version of SSMC, a box will pop up advising that a previous version was detected just click OK. If you are not upgrading skip to step 7.

detected existing version requesting upgrade

4b You will then see a screen informing you the old version is being removed

removing old version

4c Next you are given the option to use existing SSMC data which preserves the connections to existing systems. If you are upgrading move to step 7, for a fresh install read on.

confirming using existng ssmc data

5 If you are not upgrading next you will select the install location. Just leave it at default unless you have reason to change it and choose next

Confirming installation folder

6 The default port is 8443, leave it at this unless you have a specific reason to change it

Setting access port to 8443

7 You will see a summary screen of your options just click install

Pre-installation screen showing settings selected

8 You will then see a screen reminding you that inbound connections to port 8443 need to be open

Port 8443 warning

Finally you will see the install summary screen followed by the install complete screen

Next you will need to add your 3PAR systems to SSMC. I have covered this in my SSMC Administrator Console post.

If you wish to install any of the other 3PAR management tools check out these related posts:

Installing The 3PAR Management Console

Installing The 3PAR CLI

Finally you can read more about the SSMC install process and more in the HPE 3PAR StoreServ Management Console Administrator Guide


SSMC 2.1 – Whats New?

Back in December at HP Discover a new management console for 3PAR, the SSMC (StoreServ Management Console) was announced. The SSMC is a web based management console that has a clean new look shared with OneView. The original public release of SSMC was version 2.0 and didn’t have all the functionality of the 3PAR Management console with things likes configuring AO missing. SSMC 2.1 is just out and to be fair I think HP have short changed themselves with the numbering convention given the number of enhancements.  It seems more like SSMC 3.0 or given VMware’s naming convention à la VSAN SSMC 8.  Let’s check out some of the new features

VV Actions

The storage admin spends the majority of their time at the volume level. SSMC 2.1 sees the full set of Virtual Volume actions available from within the console.  Clone options are now available plus tune options which also includes conversion e.g. thick to thin.

1 VV Actions

CPG Actions

Compact CPG is now available from within the console.

2 compactcpg

Also available now is the ability to configure AO from within SSMC. I always used to do this via the CLI as the GUI for this in the management console was horrible. The new screen makes the process clearer by giving each of the elements required for an AO config clearer labels.

3 creat AO schedule

As with most things in the new console you can view AO in the Map view which is pretty and will help impress and confuse your manager.

4 AO Map view

System and functionality

Additional functionality has been added around the look of the console and system management tasks.

When the SSMC is launched the first time there is an animated getting started screen.

7 nav tutorial

Some screens now have a total row at the bottom to show for example showing the sum of the size of the VV’s.

7a total screen

Tunesys is back!

6 Tune system

System reporter

One of the biggest changes is that historic reporting data is now available via SSMC. All systems running 3PAR OS 3.1.2 have an instance of the system reporter installed which automatically collects performance data. The system reporter element requires no manual setup and is entirely self-sufficient, requiring no external database or anything like that. The historic data is stored on a system VV, the size of which depends on the model for example 60GB for a 7200 up to 100GB for a 10800. A system reporter licence will be required to enable the majority of the historic data reports to be viewed. The below screenshot shows the retention policies for an on node system reporter. You can read more about on node System Reporter in this HP blog post.


8 data retention on node

Alerts

This is a really welcome addition, the number of configurable alerts in 3PAR has until now been woeful.  SSMC 2.1 corrects this by introducing threshold alerts.  SSMC 2.1 comes with a number of preconfigured alerts in the form of alert templates on top of this you can create your own alerts.  Pretty much any physical or logical component can be set for alerting via the CLI or SSMC 2.1.

9 threshold alerts

Excel Client

There is now an Excel client that can be used to pull performance reporting data from SSMC into Excel.

11 Excel client

Finally one for the Apple fans, you will be glad to know when you are queuing at the next product launch managing your 3PAR system via Chrome on iPad is supported.

apple queue

SSMC 2.1 is available for download now from the 3PAR Software Depot.


This post marks the beginning of a series aimed at introducing and improving familiarity with SSMC. Stay tuned via Twitter or by subscribing as I am planning lots of posts regarding SSMCs new features and how to use them. Next in the series I will be looking at getting started with installing SSMC.