Creating a 3PAR document bundle

This guest post by Armin Kerl (Cali) shows three different methods you can use to create a document bundle for your 3PAR.  Lets take a look at the first method:

Service Processor 4.x

Here is a quick tip for 3PAR users that have a Service Processor 4.x. version.

Creating document bundle using the 3PAR service processot

1 Login into the Service Processor Web Site

2 Now Select: Files > Files > Your serial number > Config > Download the most recent File

3 Rename the File to My3PARDoc.html

Service Processor 5.x

1 Login into the Service Processor Web Site

2 Now Select: General > Files and set the filter Type = Collection (CONFIG)

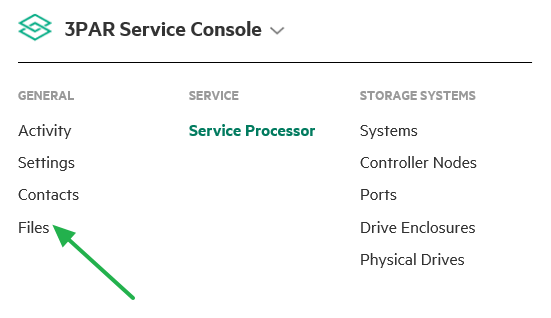
3 Select the latest file and choose Actions > Download

3 Rename the File to My3PARDoc.html

That is all, you just got a full documentation set for your 3PAR.
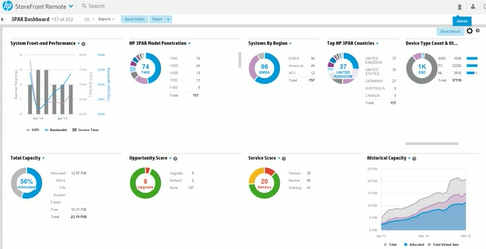
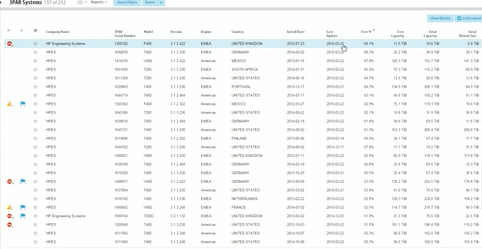
StoreFront Remote

If you enable 3PAR for call home, there are additional ways:

First is HPE InfoSight

1 Login with your HPE Passport Account.

2 If you have not mapped the 3PAR with your Account, do this by “Register Systems”.Once done wait for 1-2 Days. Then InfoSight > Infrastructure > 3PAR StoreServ > Systems should show the 3PAR Systems.

Register 3PAR with InfoSight

3 Select the 3PAR and on the right Side Actions > “Create PDF”
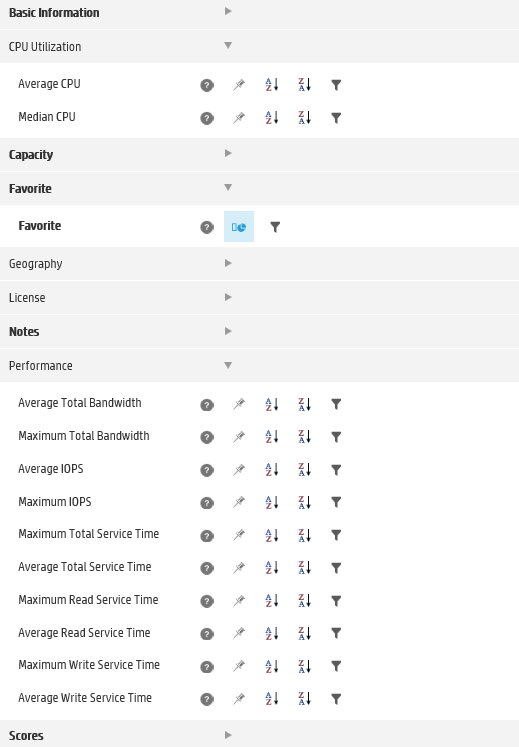
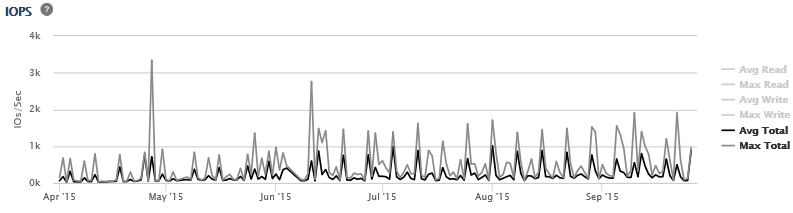
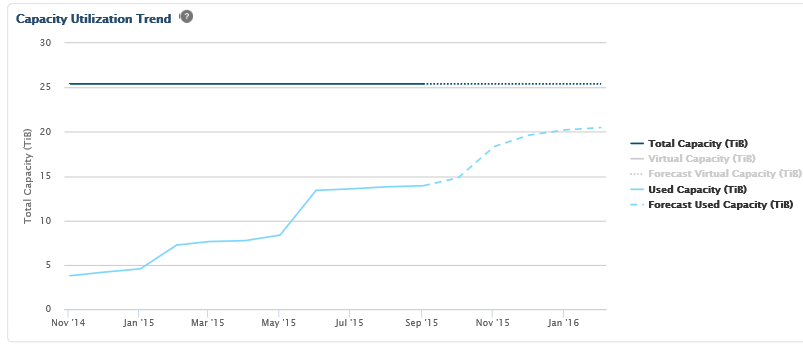
Creating document bundle using StoreFront remote

StoreVista

The next method uses StoreVista

Here you can generate some reports that the system mailed to you on one-time or regular basis. Be sure to Read the Instructions in the Download Section

StoreVista document bundle method


StoreFront Remote – Group Access

Previously I gave an overview of  HPE’s new online analytics tool for your 3PAR systems StoreFront Remote. StoreFront remote works by utilising the performance statistics that are sent back home to HPE.  However to view a system in StoreFront remote you still need to register it against your HPE Passport ID, I covered the process in my previous post. To save everyone who wants to view the systems having to go through the registration process you can use System Group Access, this allows one user to register the systems and become the group owner enabling them to add additional users.  This post covers the process and assumes that you have already registered the 3PAR systems you wish to monitor:

1 Login to StoreFront Remote using your HPE passport ID

1 main menu

2 Click on the main menu and choose System Group Access.  The group for the systems you have registered will be displayed and you will be owner

2 default group

3 From the actions menu choose to rename it

3 action menu

4 Then from the action menu choose add users and enter the e-mail address of the users you wish to add.  This must be the e-mail address associated with the HPE passport of the user you are inviting.

4 add users

5 You will then see a status invite pending.  The recipient of the mail just needs to click on the URL in the invite to accept the invite

5 invite pending

Thanks to @CalvinZito for finding out the information which enabled me to write this blog post.


To stay in touch with more 3PAR news and tips connect with me on LinkedIn and Twitter.


New 3PAR Tool – StoreFront Remote

An additional tool has become available for 3PAR – StoreFront Remote. This new web based tool is not used for management but for analytics on multiple 3PAR systems

How do I get it?

It’s a web based tool so no additional software is required. But what you do have to do is register each 3PAR system you wish to monitor in the interface. To register the systems you just need to add a text string to the comments section of each 3PAR, you can do this using the IMC, SSMC or CLI. The steps below cover doing it through the CLI:

1 From your web browser visit https://www.storefrontremote.com. You can login with A HP Passport ID

2 When you login it will prompt you to add systems and at the top of the instructions you will be provided with a text string which will look something like : StoreFrontRemoteAccess(timXHKJDHJDSHSJDHDJKYT,[email protected])

3 from the CLI enter

setsys -comment StoreFrontRemoteAccess(timXHKJDHJDSHSJDHDJKYT,[email protected])


The system needs to be configured for dial home to HP to be added. The systems you add will become available in the dashboard after 24-48 hours.


What does it do?

The first thing you are going to notice is that the look has been modelled on SSMC and OneView, so if you are familiar with these you are going to find navigation fairly straight forward. Like SSMC when you open it you start with a dashboard view which lists all your connected systems. It’s a highly scalable system, the demo from HP on the inbuilt help shows over 200+ connected systems.

This is an analytics tool and I would guess it’s an enhanced version of what was previously an in house pre-sales tool. The best thing to do is going to be to dive in there and give it a go, so the intention in this post is just to give a quick whirlwind tour of what the tool can do.


Dashboard View

When you login you will see a dashboard view of all your connected systems. This is a high level summary showing things like capacity, location and model.

1 dashboard


You can add and remove the dashboard panels or dashlets you would like to see

2 add dashboard pannel

Like in SSMC you can use the search box and click on items such as the OS version to filter down to see only systems with the selected version. You can also filter using a number of inbuilt reports shown in the screenshot below.

3 filter reports

System View

The other main view is the system view. Once in the system view if you choose hide details you are shown a table of all connected systems. This could be useful for example if you want to drill down and produce a list of systems on a certain OS or with a particular free capacity left.

5 table view

You can filter and add remove columns in this view

6 add columns

If you then choose show details you get all systems listed on the left and with a number of different detailed views shown on the right such as overview, status details, licence, physical disk details and system front end performance. The following is an example of a chart from the front end performance.

IOPs

This is another useful chart showing capacity trend over time:

4 capacity

Conclusion

This isn’t going to replace SSMC as your go to performance tool but I think where this is going to come into its own is in trending, capacity management and planning. If you are managing a large number of systems this will easily highlight the hot spots and also present the information in a clear customer friendly format.


To stay in touch with more 3PAR news and tips connect with me on LinkedIn and Twitter.